
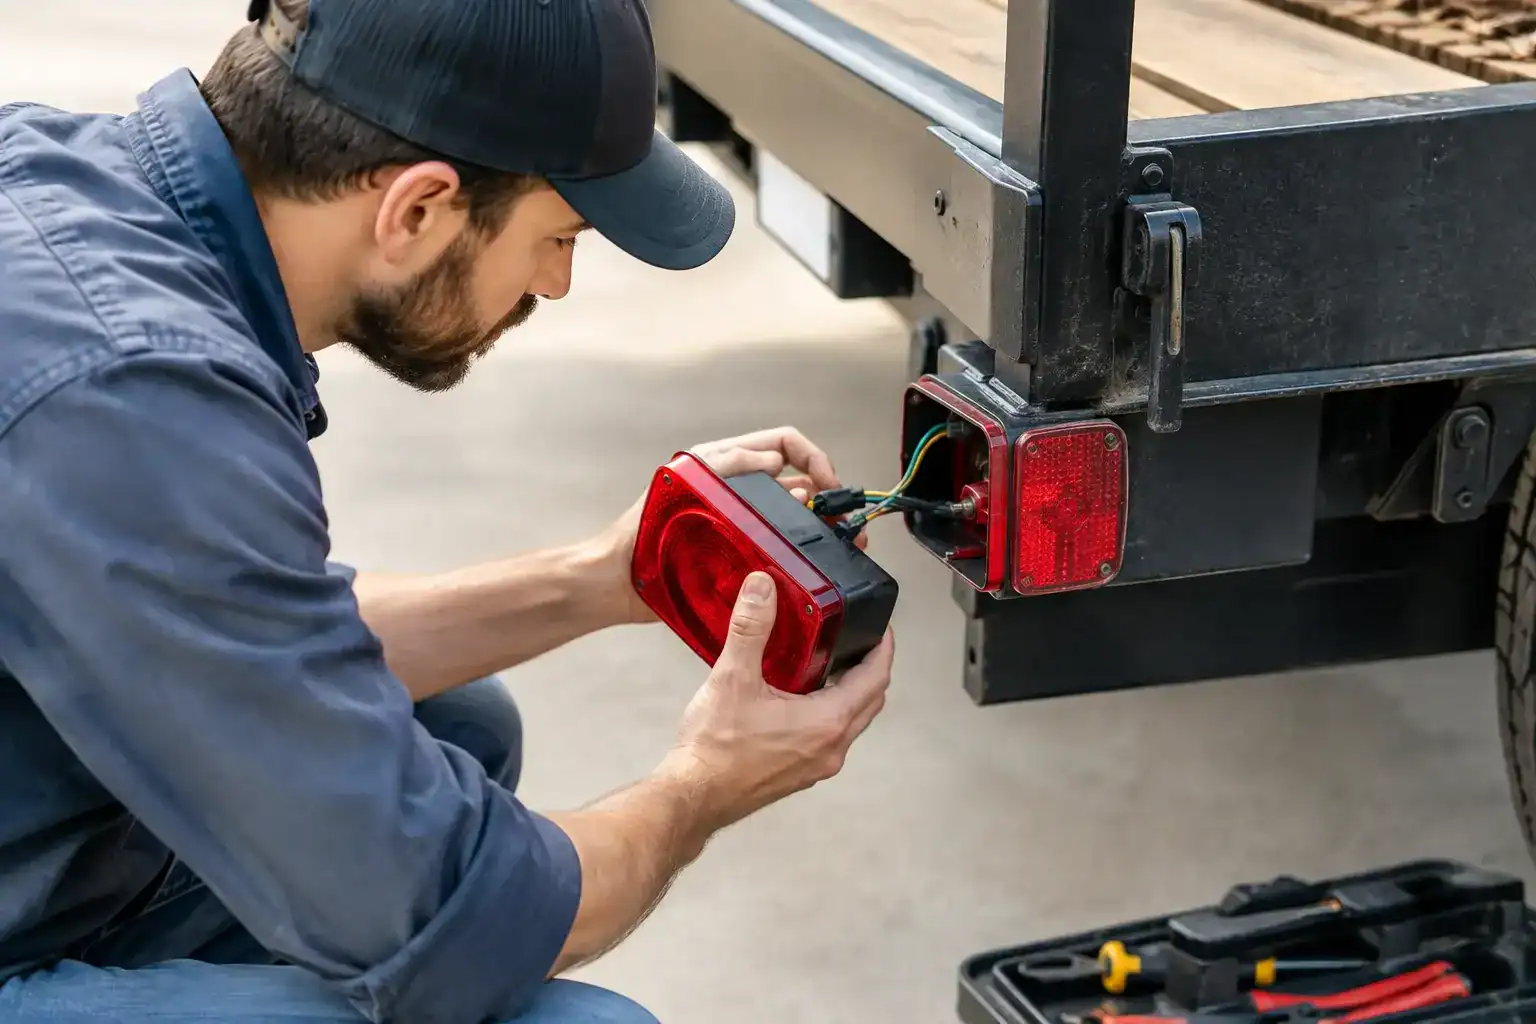
A trailer can be loaded, tied down, and ready to leave at first light, then one dead tail light stops the whole job. That is why trailer lights fail matters: poor lighting is not a minor annoyance when you rely on a trailer for work, property maintenance, or a weekend away. It can mean an unsafe tow, a roadside delay, and time lost chasing a fault that should have been fixed properly.
Most lighting failures come back to a small number of causes: bad connections, damaged wiring, poor grounds, water entry, or a fault in the tow vehicle. The trick is finding the actual cause before replacing parts. A new light fitted to a damaged wire may work briefly, but it will not solve the problem.
Why trailer lights fail in real working conditions
Trailer wiring lives a hard life. It is exposed to road spray, vibration, dust, mud, heat, loading damage, and the occasional careless reverse into a gatepost or bank. Unlike wiring inside a vehicle, trailer wiring often runs beneath the chassis where it is more exposed to impact and moisture.
A light may fail all at once after a hard knock, but many faults build slowly. Corrosion adds resistance to a connection. A wire rubs through against a sharp edge. A loose terminal works intermittently as the trailer moves. By the time the light stops working altogether, the underlying issue may have been there for months.
LED lights generally last longer than old-style globe lights, but they are not immune to wiring faults. In fact, an LED can make a weak ground or poor connector more obvious because it may flicker, dim, or behave unpredictably rather than simply blow a globe.
Corroded plugs and connectors
The trailer plug is one of the first places to check. It is exposed to weather, gets dragged across drawbars and bumpers, and may be left sitting in water or dirt. Green or white corrosion on the pins, bent terminals, cracked plug housings, and loose wires can all interrupt power.
A connector can look acceptable from the outside while the wiring behind it is loose or corroded. If the lights cut in and out when the plug is moved, do not settle for wiggling it until it works. The plug needs to be opened, inspected, and repaired or replaced as needed.
The socket on the tow vehicle deserves the same attention. A perfect trailer will still have lighting problems if the vehicle socket has a bad terminal, corrosion, or a wiring fault behind it.
Poor grounding
A poor ground is behind a large share of strange trailer-light behavior. The ground, sometimes called the earth return, completes the electrical circuit. Without a clean, secure ground connection, current may try to return through another circuit. That is when brake lights can make marker lights glow, indicators can flash oddly, or several lights can become dim.
Ground faults are common on painted, rusty, or heavily used trailers. A terminal attached over paint, corrosion, or dirt may seem secure but cannot make a reliable electrical connection. The proper repair is to clean the contact point back to bare metal where required, fit a sound terminal, protect the connection, and make sure the ground wire is sized and routed correctly.
Using the trailer chassis as part of the return path can work when everything is clean and sound. On trailers that see regular water, mud, or rough-road use, dedicated ground wiring to each light can provide a more dependable result. The right approach depends on the trailer, its wiring layout, and how it is used.
Damaged or poorly routed wiring
Wires beneath a trailer need protection and support. If they hang loose, they can catch on debris, rub against steel, or get crushed by suspension movement. If they are pulled tight across a sharp edge, normal vibration can eventually wear through the insulation and create a short circuit.
Look closely around moving parts, crossmembers, the drawbar, mudguards, ramps, and anywhere accessories have been added. Trailer modifications are a common time for wiring to be pinched or disturbed. A new toolbox, spare wheel carrier, cage, or ramp setup can create a problem if the wiring was not rerouted and secured properly afterward.
Electrical tape wrapped around a damaged section is rarely a lasting repair underneath a working trailer. It may keep moisture out for a short time, but it does not restore damaged copper or prevent the wire from rubbing again. A proper repair replaces compromised wire, uses suitable joins, protects it in conduit or loom where needed, and secures it away from hazards.
Water inside lights and joins
Water and electricity do not mix well, especially when road grime is involved. Cracked lenses, broken seals, loose cable entries, and cheap connectors let moisture reach terminals and circuit boards. Once corrosion starts, the light may work only intermittently before failing completely.
This is especially common after frequent wet-weather towing, boat launching, pressure washing, or long periods parked outside. If there is visible moisture inside a light assembly, replacing the globe alone is unlikely to be enough. Check the housing, seals, wiring entry point, and connector condition before putting the trailer back into service.
Blown fuses and vehicle-side faults
Not every trailer lighting issue begins on the trailer. If all lights on one circuit are out, or the problem appears with more than one trailer, start at the tow vehicle. Check the relevant fuses, relay systems where fitted, trailer socket, and wiring harness.
Modern vehicles can be sensitive to an electrical short or incorrect wiring connection. A damaged trailer wire may blow a vehicle fuse repeatedly, while some vehicles may shut down a circuit to protect themselves. Replacing fuses without finding the short only creates another roadside failure later.
A practical way to find the fault
Start with the simple checks, but test methodically. Turn on each function one at a time: tail lights, brake lights, left indicator, right indicator, reverse lights if fitted, and clearance lights. Note exactly what works, what does not, and whether another light behaves oddly when a function is activated.
Next, inspect the plug and socket for dirt, corrosion, bent pins, or loose wiring. Check the trailer ground point and look for obvious cable damage. If the fault is not visible, a test light or multimeter can confirm whether power is reaching the plug, the wiring junctions, and the affected lamp.
Testing at several points saves time. If power leaves the vehicle socket but does not reach the light, the fault is in the trailer wiring or a connection along the way. If power reaches the light but it still does not work, check the ground and the lamp assembly. If there is no power at the vehicle socket, the vehicle-side circuit needs attention.
Do not assume matching wire colors guarantee correct wiring. Previous repairs, replacement plugs, and imported components can leave a trailer with colors that do not match the expected layout. Test each circuit rather than guessing.
When a quick fix is not enough
Replacing a globe or cleaning a plug is reasonable when the rest of the wiring is sound. It is not the answer when insulation is brittle, multiple joins are corroded, wiring has been patched repeatedly, or the trailer has recurring faults.
A full or partial rewire costs more upfront than another temporary join, but it can be the better value for a trailer that earns its keep. This is particularly true for work trailers carrying tools and equipment before dawn, plant trailers exposed to harsh use, and recreational trailers that may travel long distances. Reliable lights are basic safety equipment, not an optional extra.
At AJF Trailers, lighting repairs are approached as a system: plug, vehicle connection, grounds, cable routing, joins, and lamp units all need to work together. That helps avoid the familiar cycle of replacing one part today and chasing the next fault next week.
Keep lighting faults from coming back
A quick pre-trip light check is one of the simplest habits a trailer owner can build. Walk behind the trailer while someone operates the brakes and indicators, or use a suitable tester when working alone. It takes little time and can reveal a loose connection before it becomes a problem on the road.
During routine trailer servicing, have the wiring checked for abrasion, loose clips, damaged conduit, water entry, and corrosion at the plug and lights. This matters even more after rough-road work, floodwater exposure, a minor impact, or modifications near the chassis.
If a light keeps failing, treat that repetition as useful information. The trailer is telling you the fault is deeper than the globe. Fix the cause once, protect the wiring properly, and the next early start is far less likely to begin with a trailer parked in the yard.